Several weeks ago, I got a bee in my bonnet to try out the whole sprocket-hole thing, having seen other photographers sharing pictures made by exposing the entire piece of 35mm film for years. Lomography sells a camera specifically for this (the Sprocket Rocket, a name I love), but as I do not own one nor do I see myself making these kinds of photos very often, I decided to figure out another solution using my Diana F.
A brief internet search brought me to a very helpful YouTube video, which I am sharing below with the hope that y’all will both watch it and show this YouTuber some love:
Basically, (mostly) following his instructions I cut a craft stick the length of a 120 spool, taped the 35mm roll to it, stretched the film over, and taped it into the 120 take-up spool. I also taped some foil over the red film window, per the video’s instructions. I did not bother making a mark on the film winder; I decided to wing it with that part.
Obviously, the technique of taping everything in place means that unless you’ve brought a changing bag along with you, you are pretty much restricted to just exposing one roll in the camera. This was fine with me, as I intended this experiment to be brief.
For the sake of assuming I was going to fail with the whole endeavor, I used a roll of Kentmere 400 that had been languishing in my deep freeze for many years.

The good news it: IT WORKED! Beautifully, better than I expected. They might not be the most incredible photographs I’ve ever made, but I am thrilled with the results all the same.

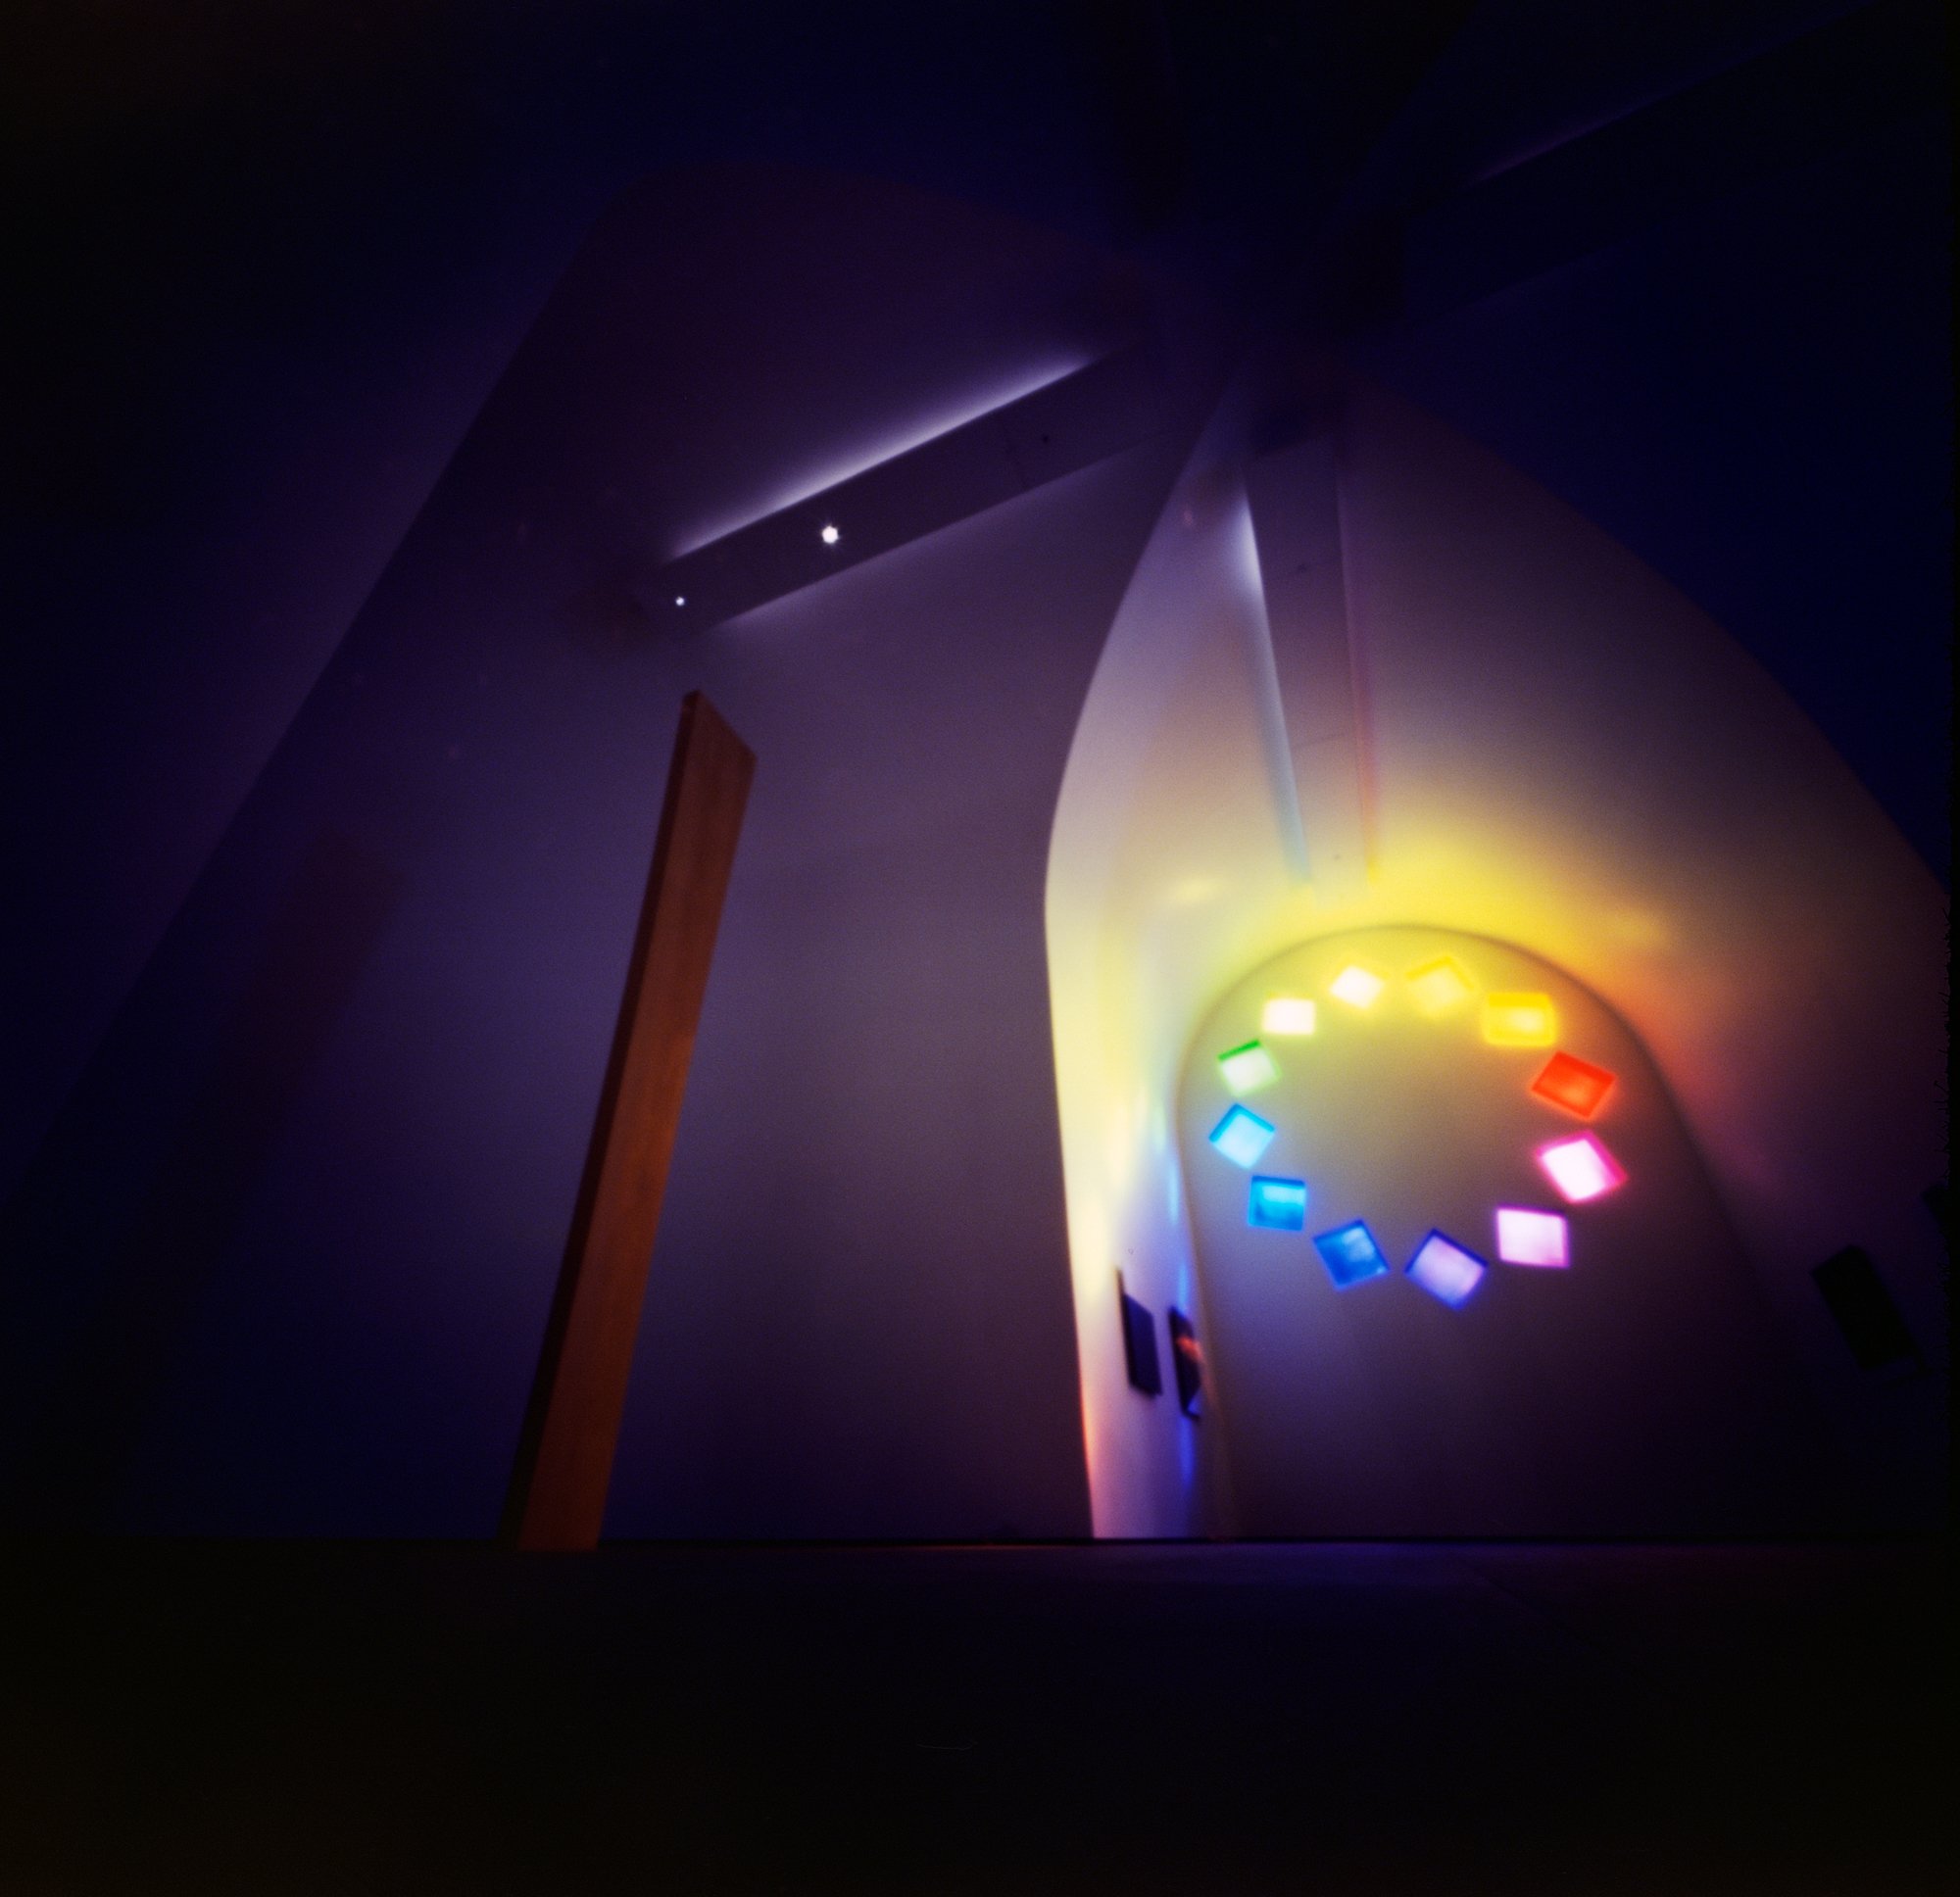
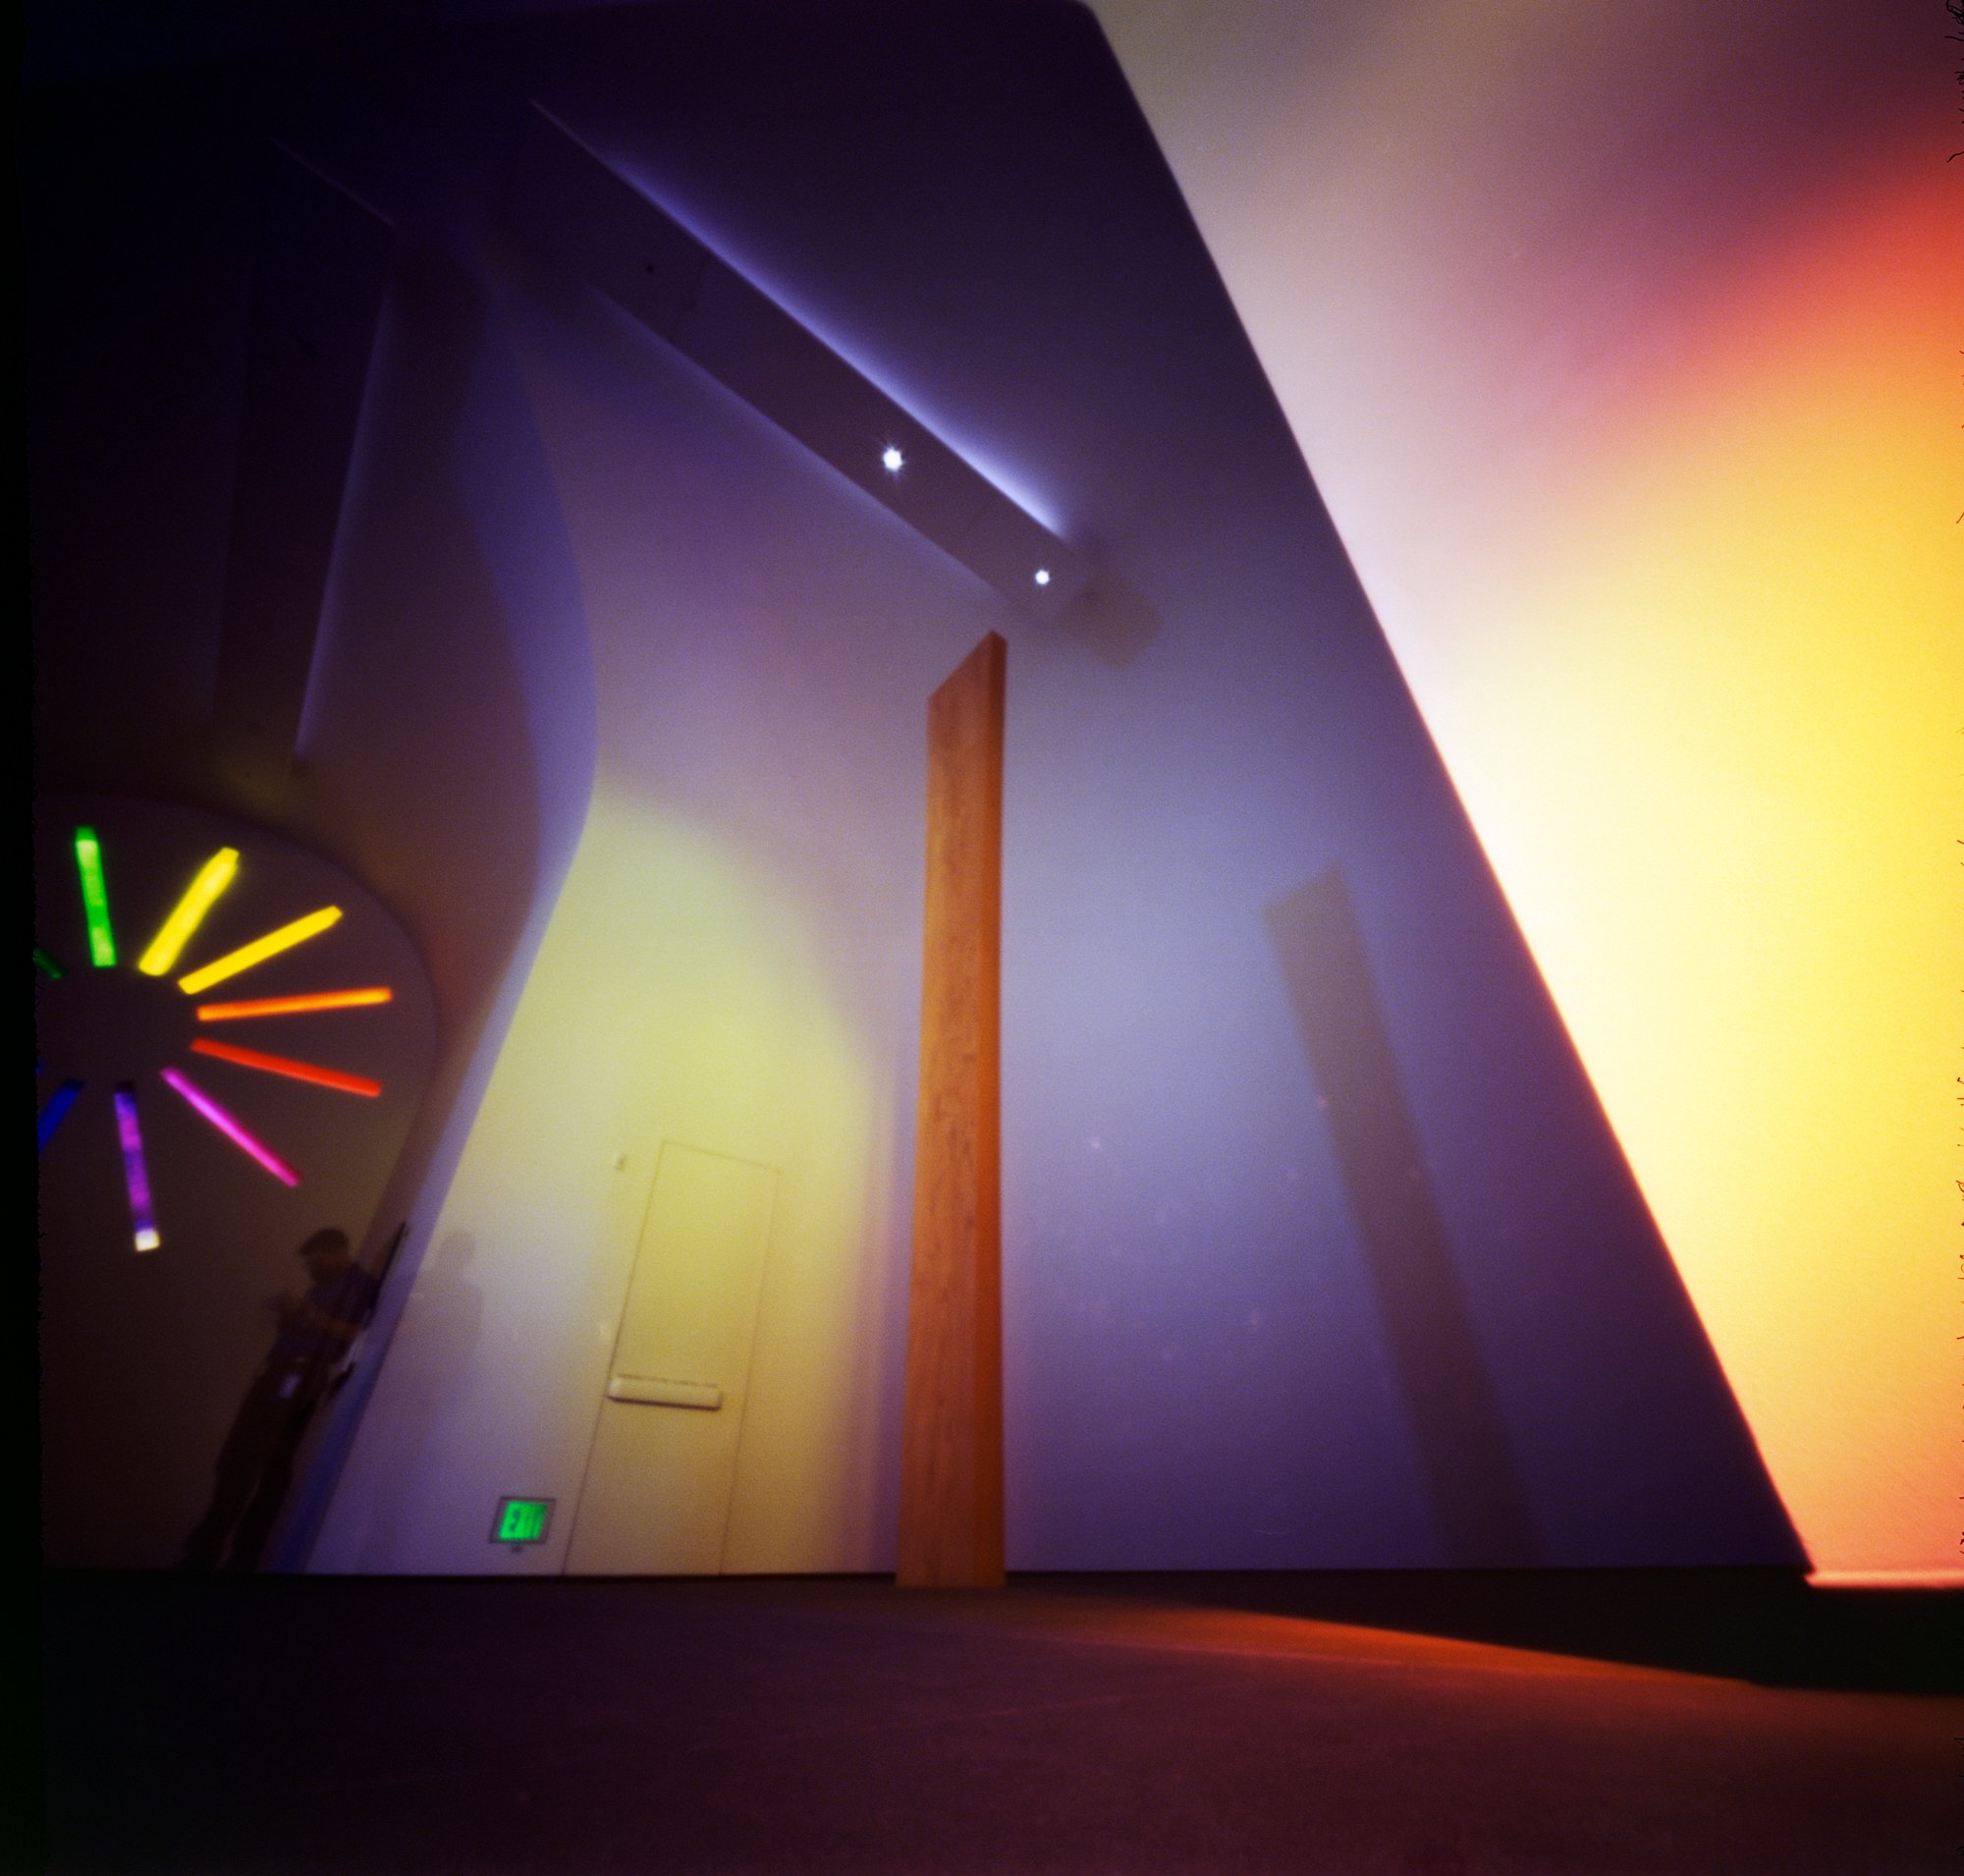
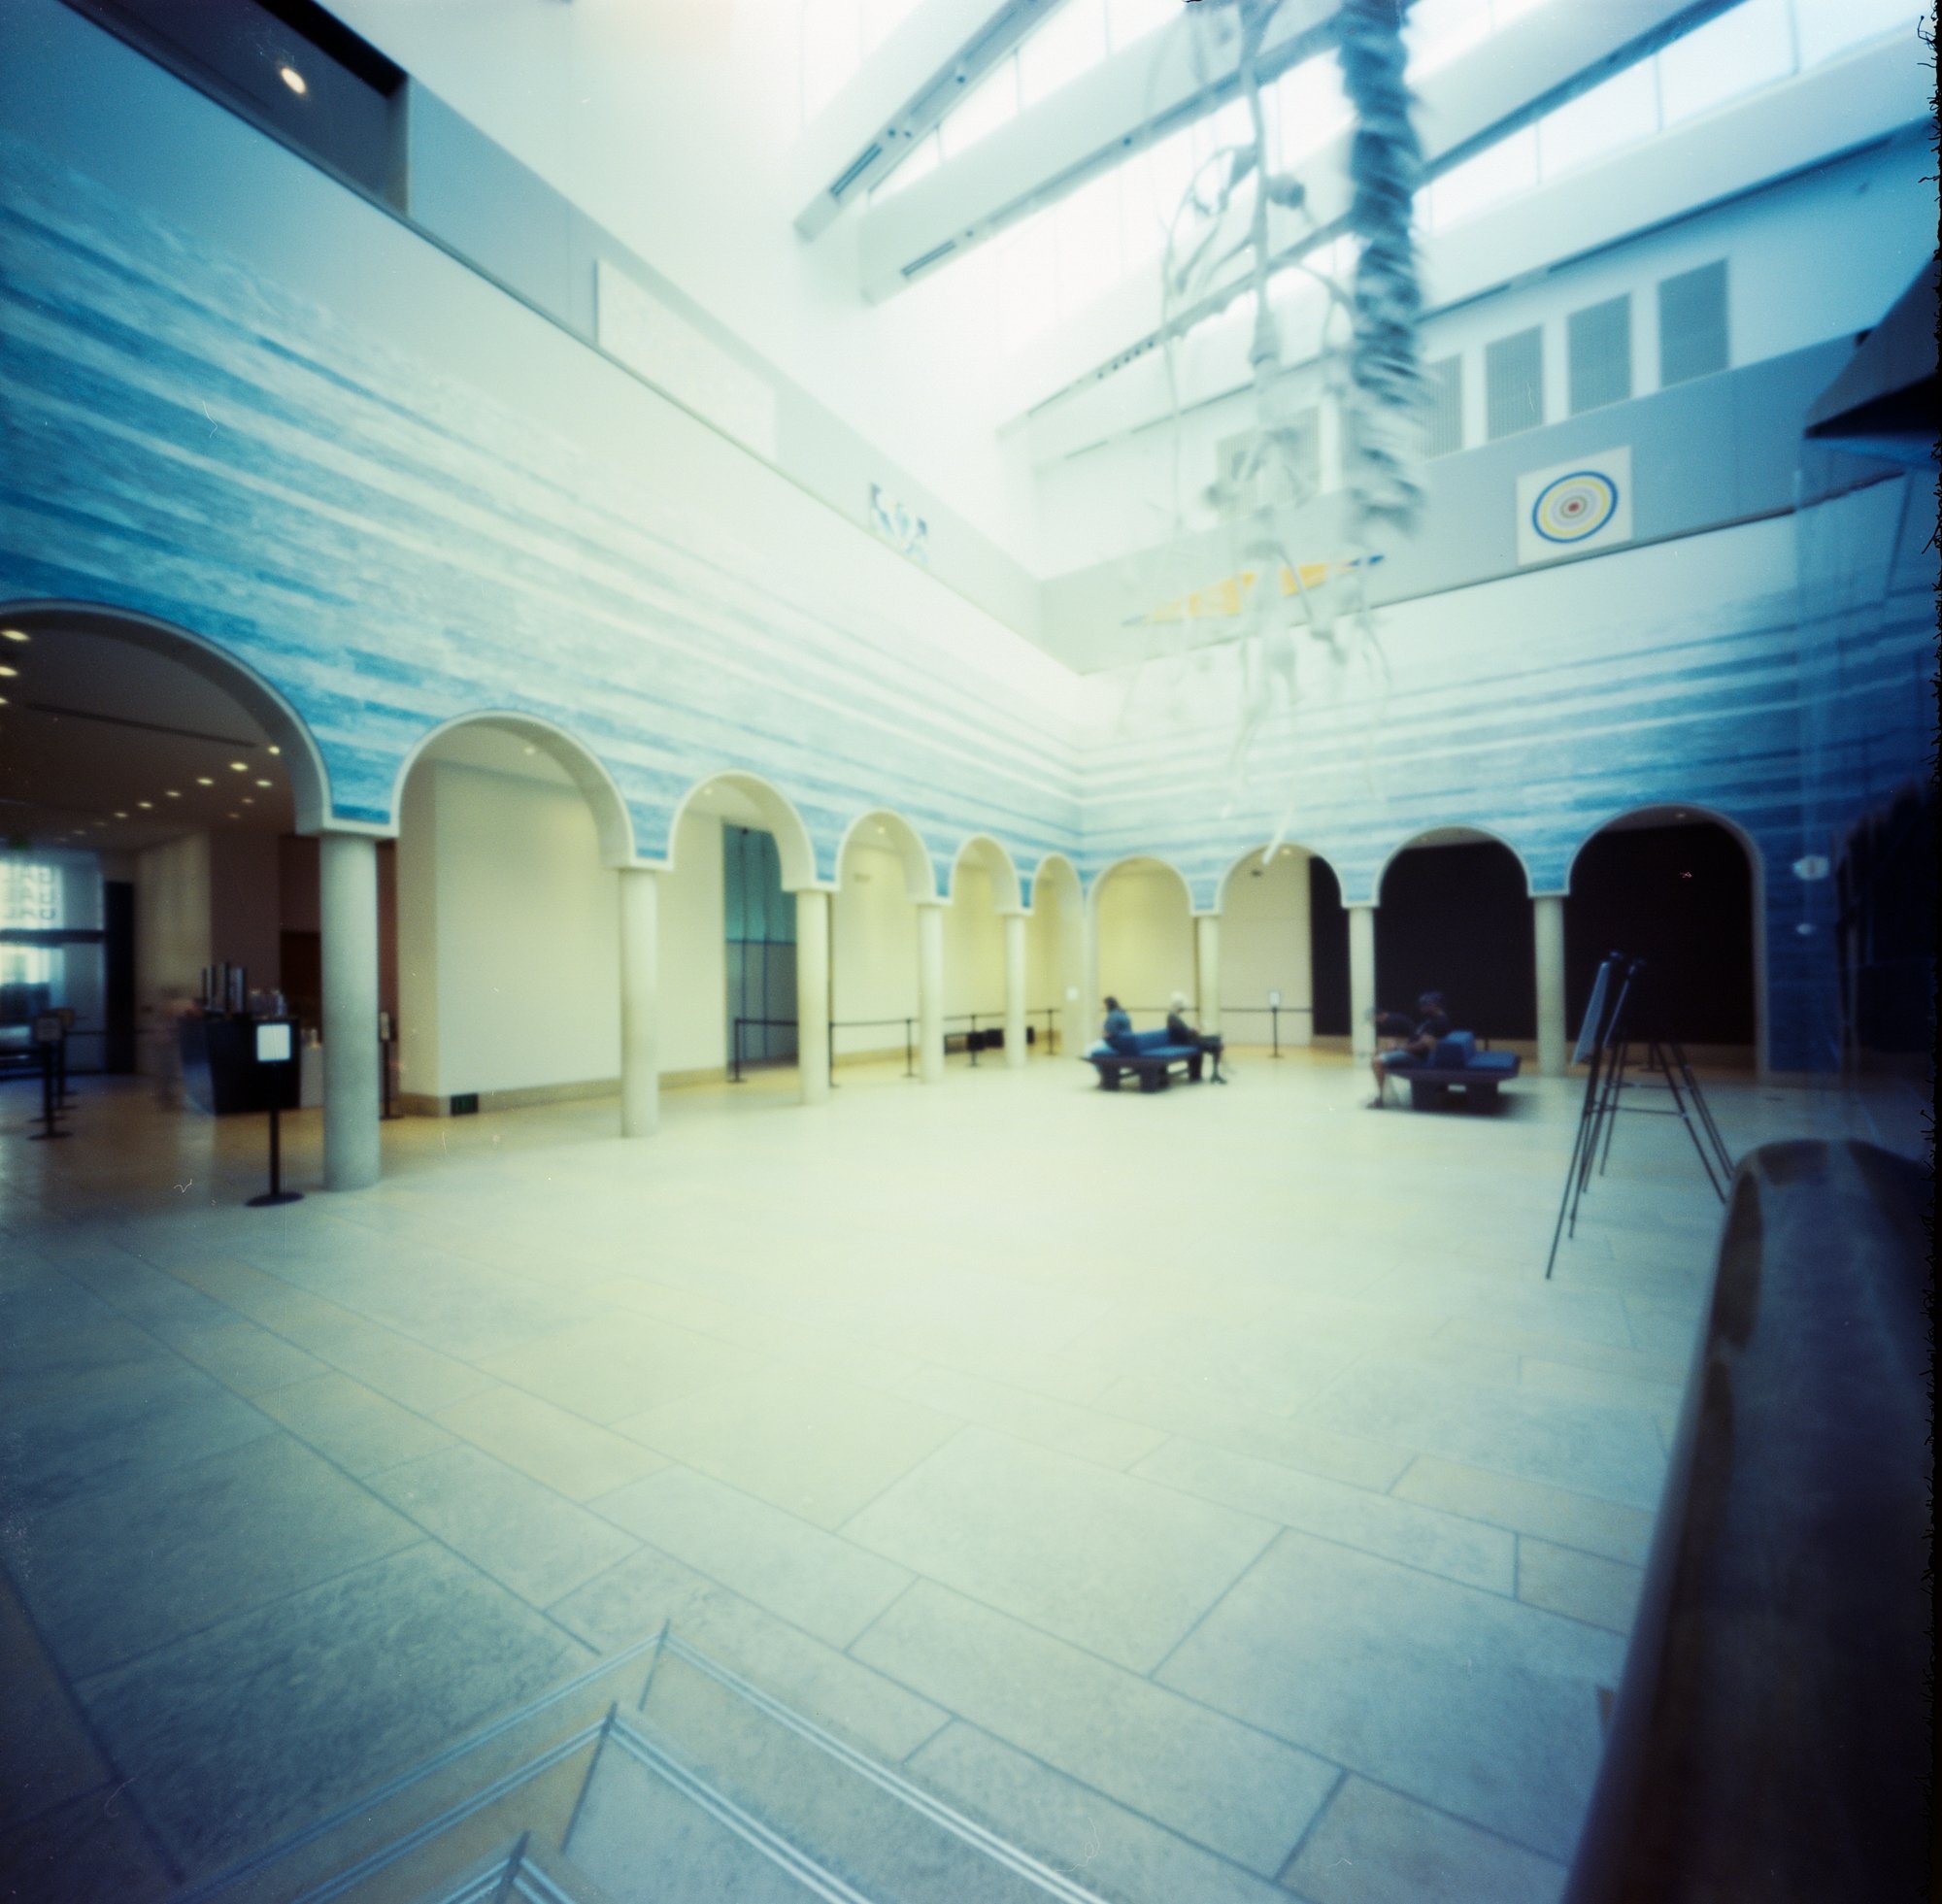
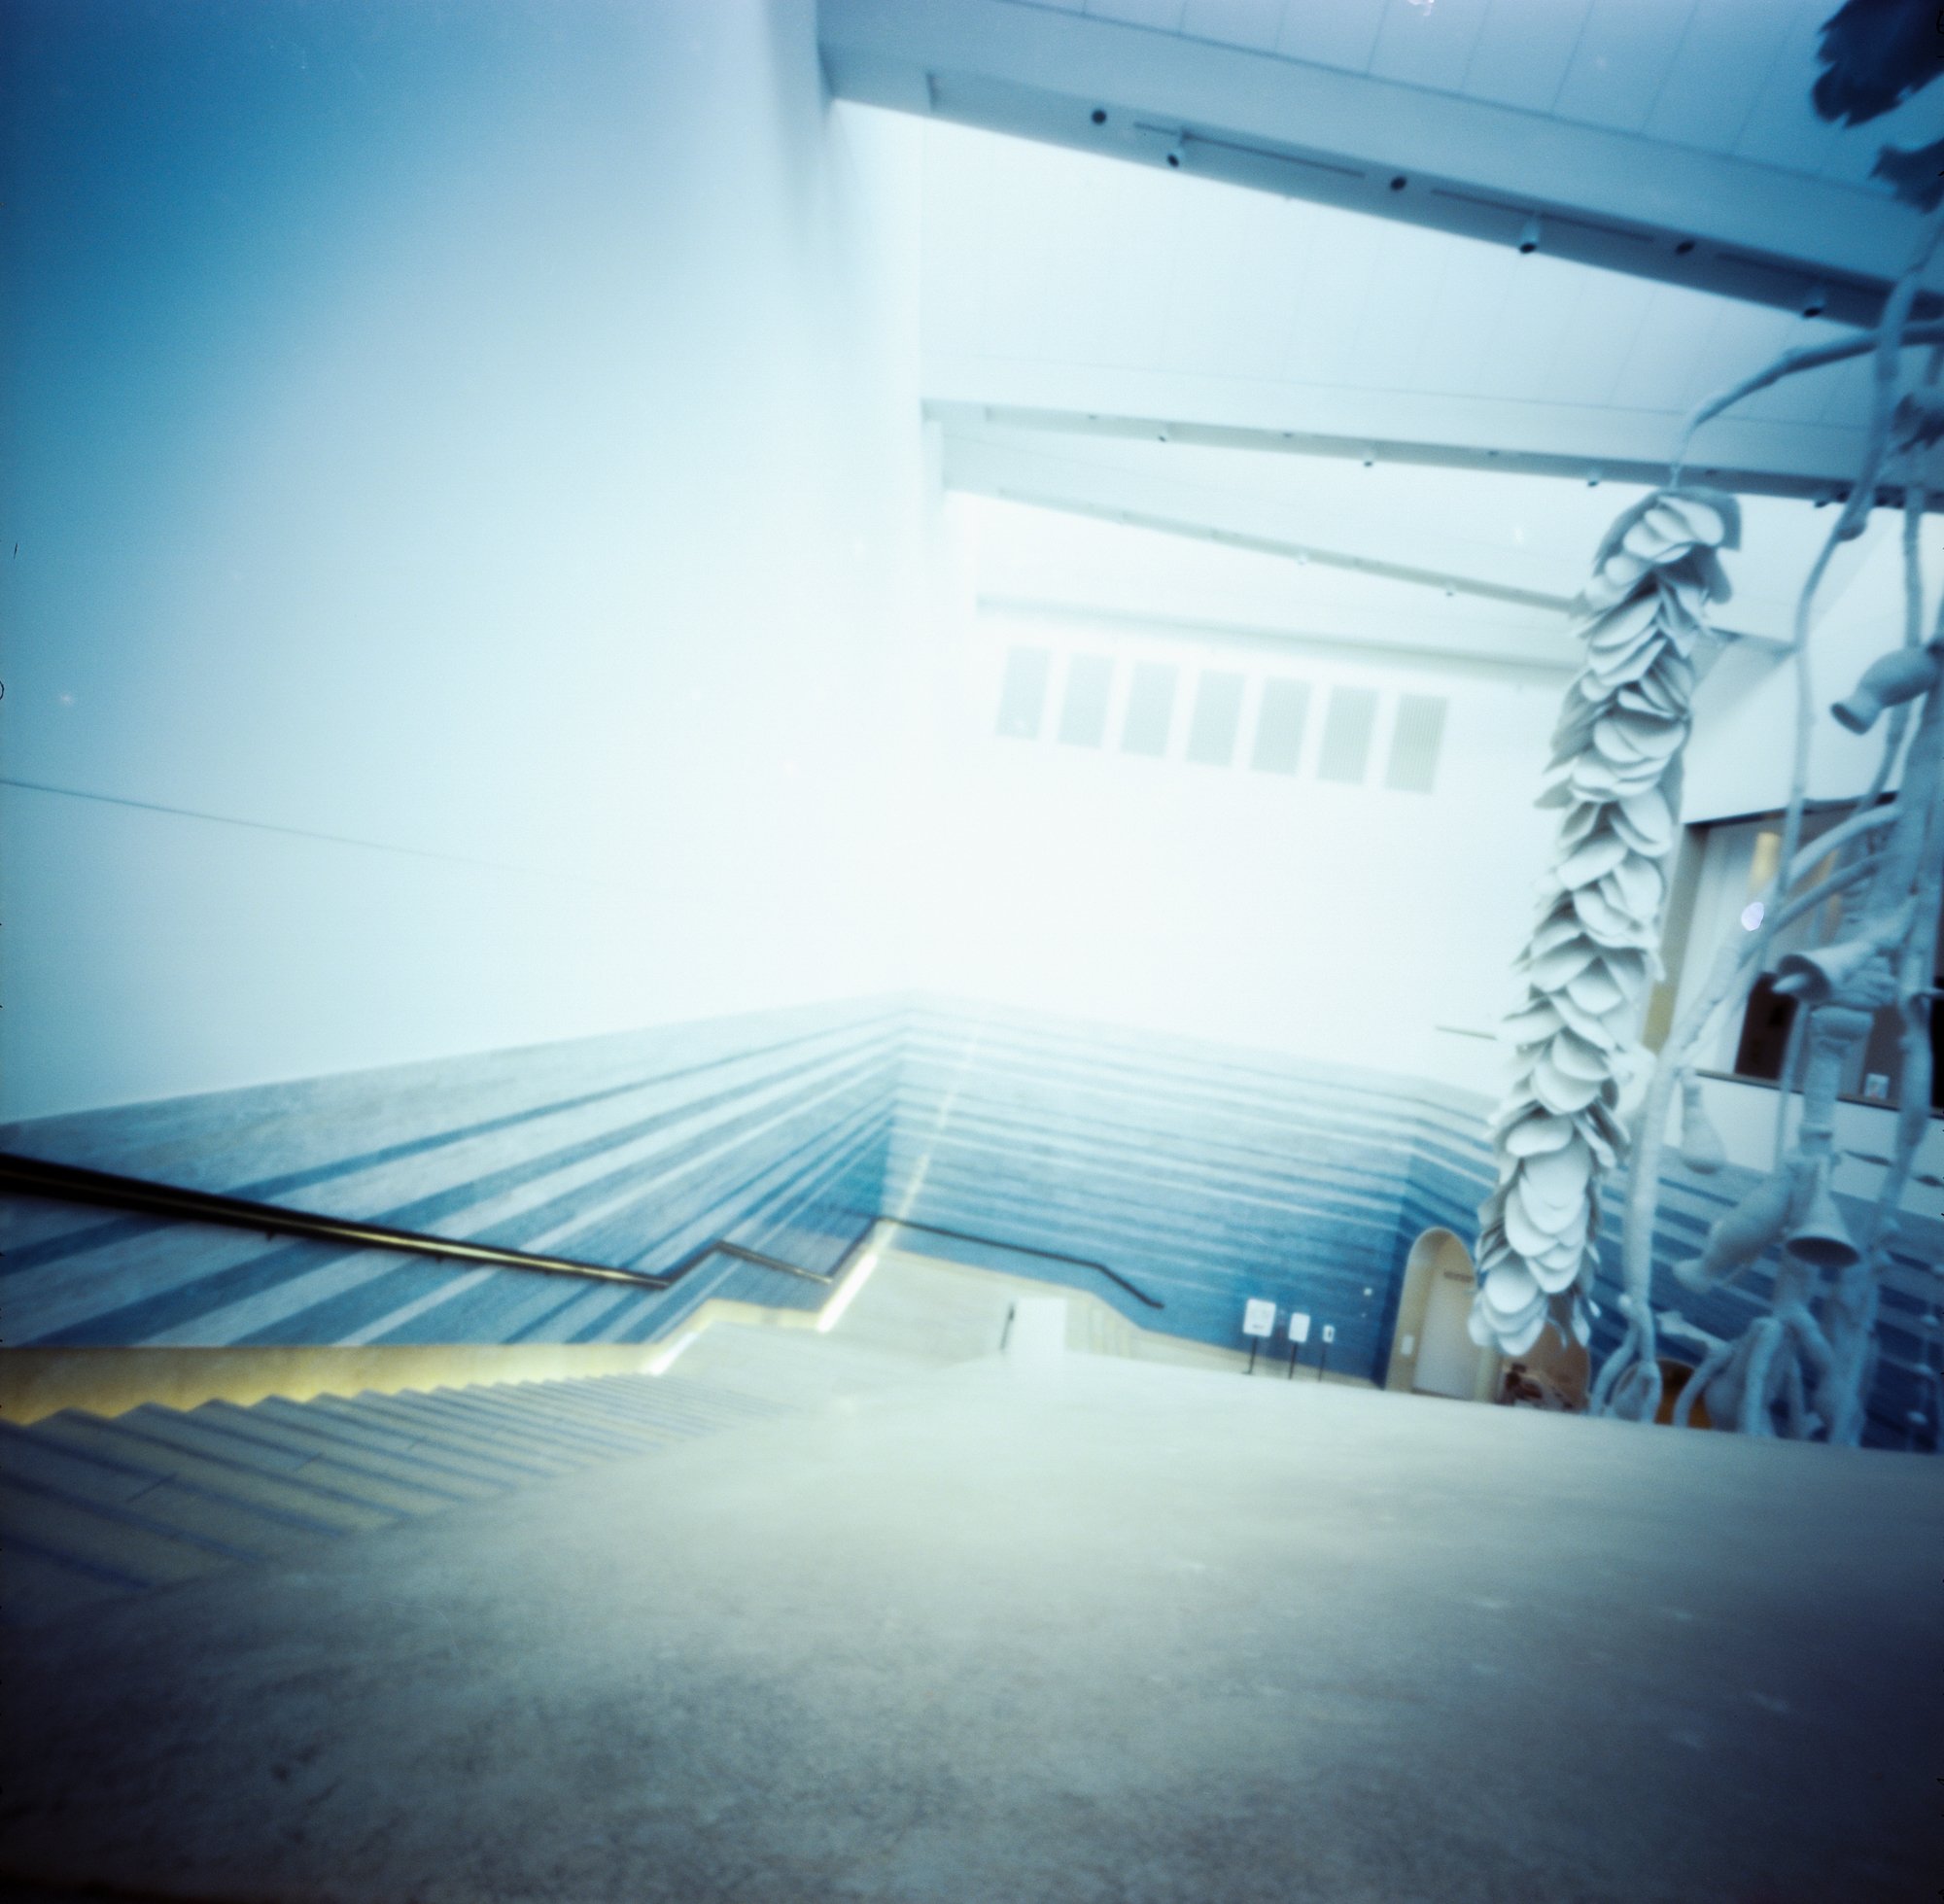
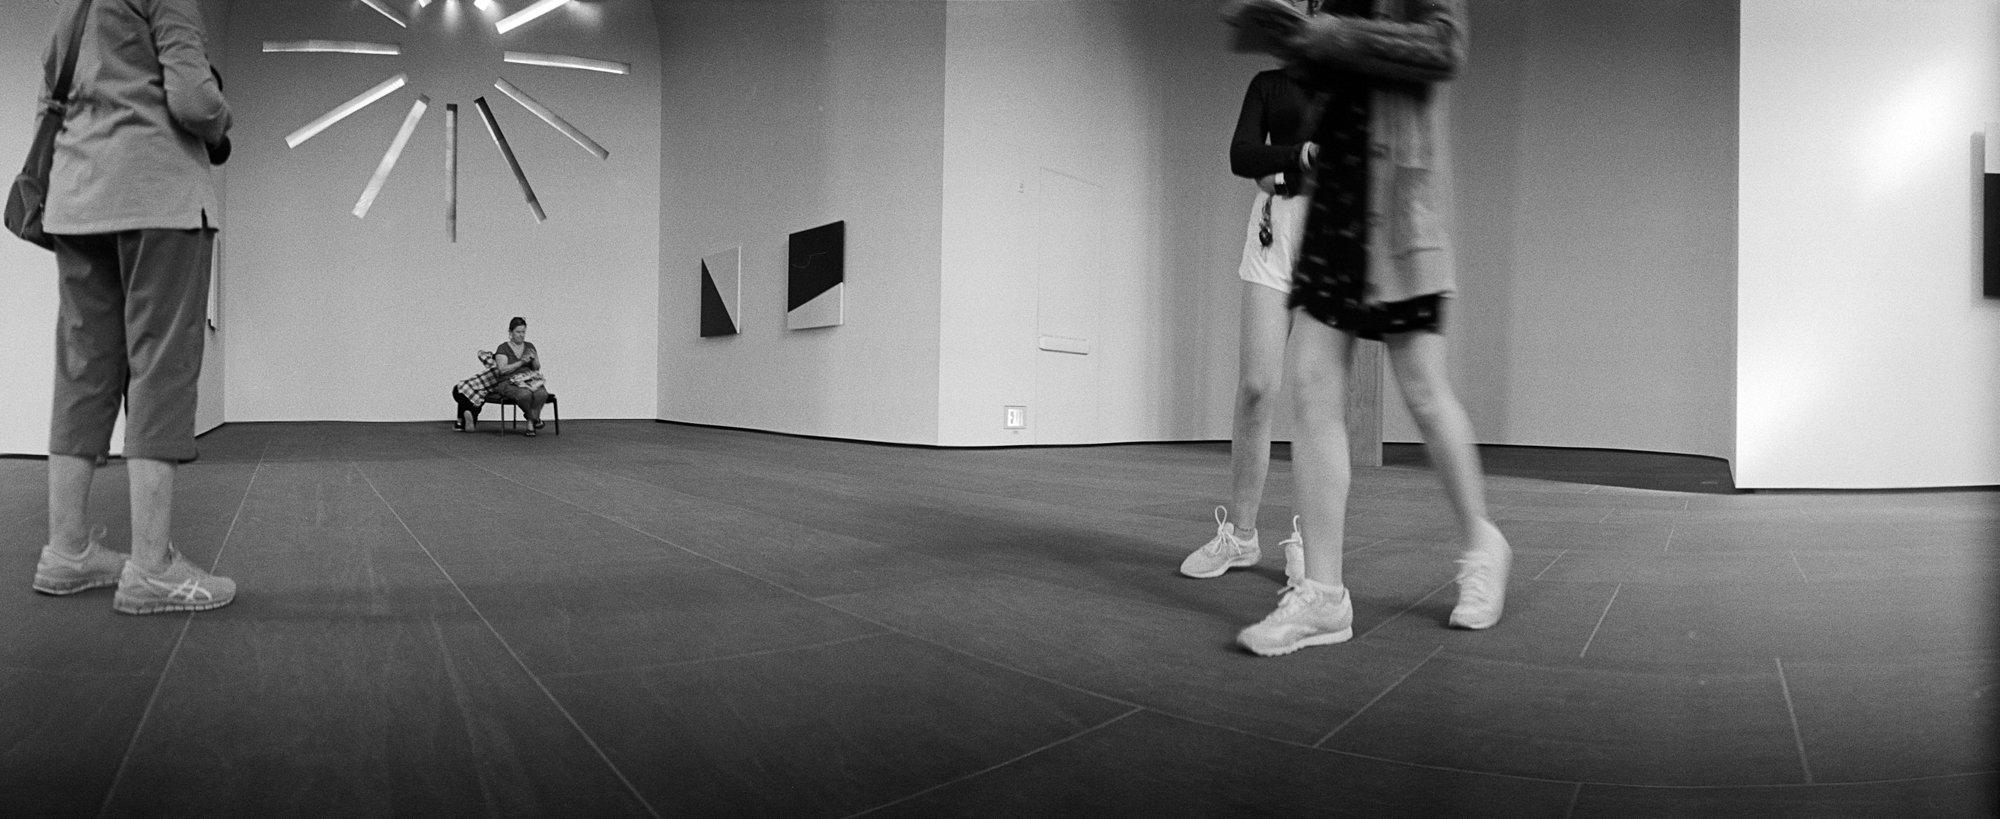
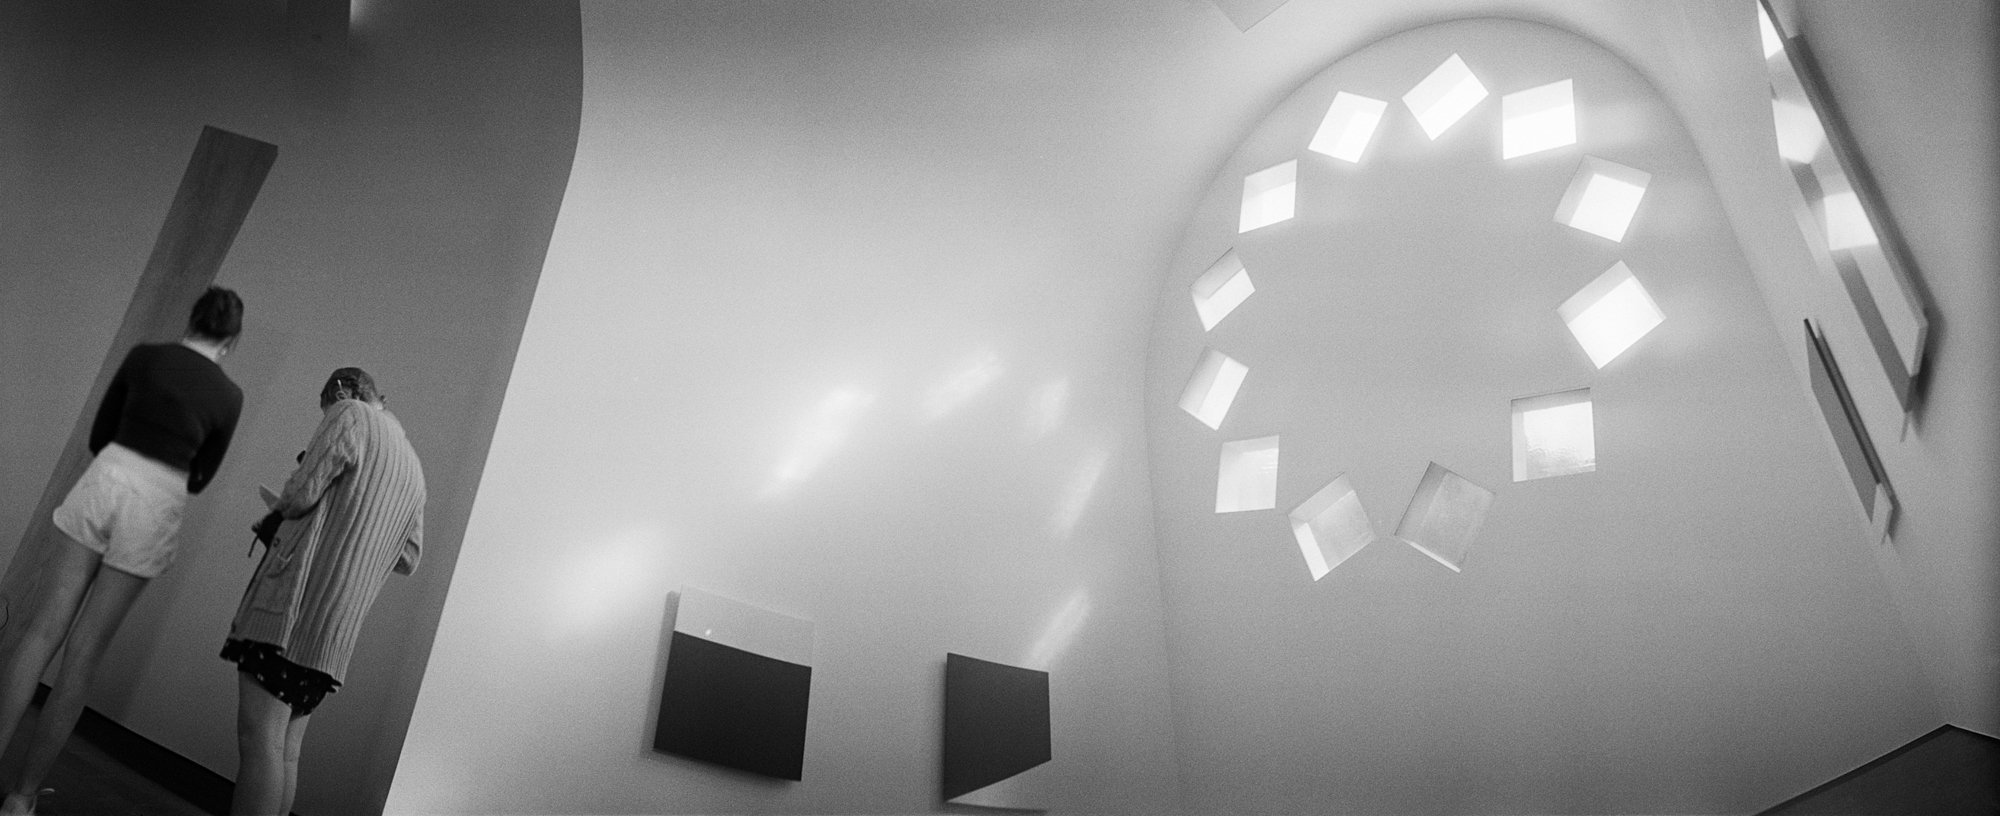
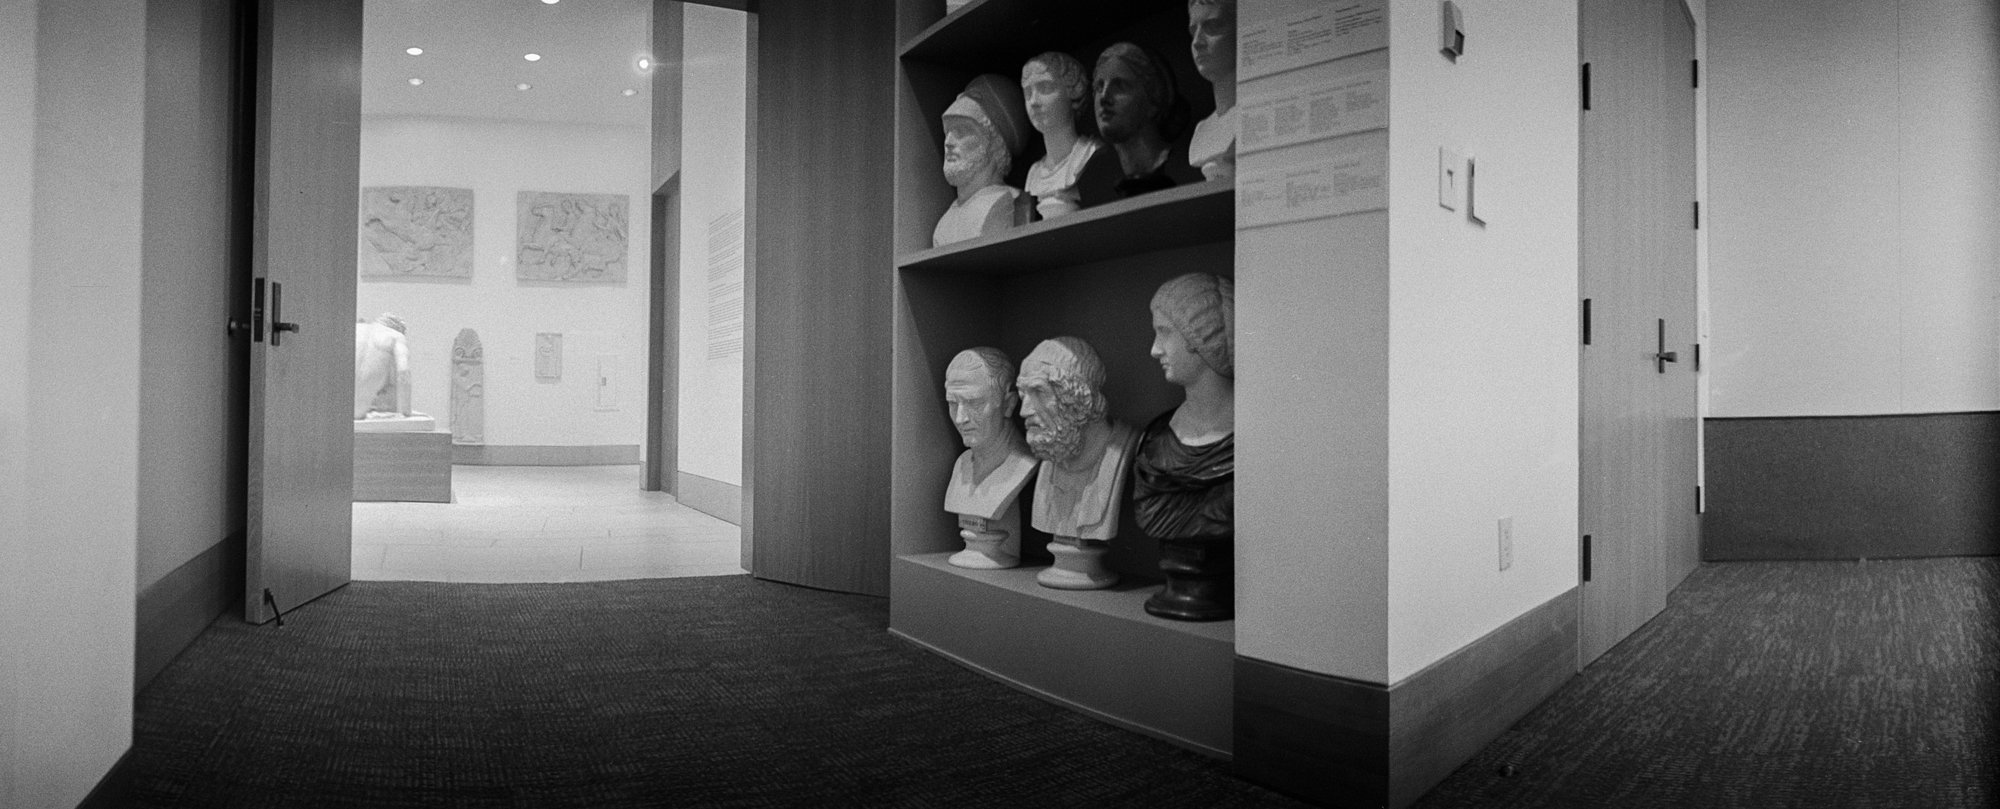
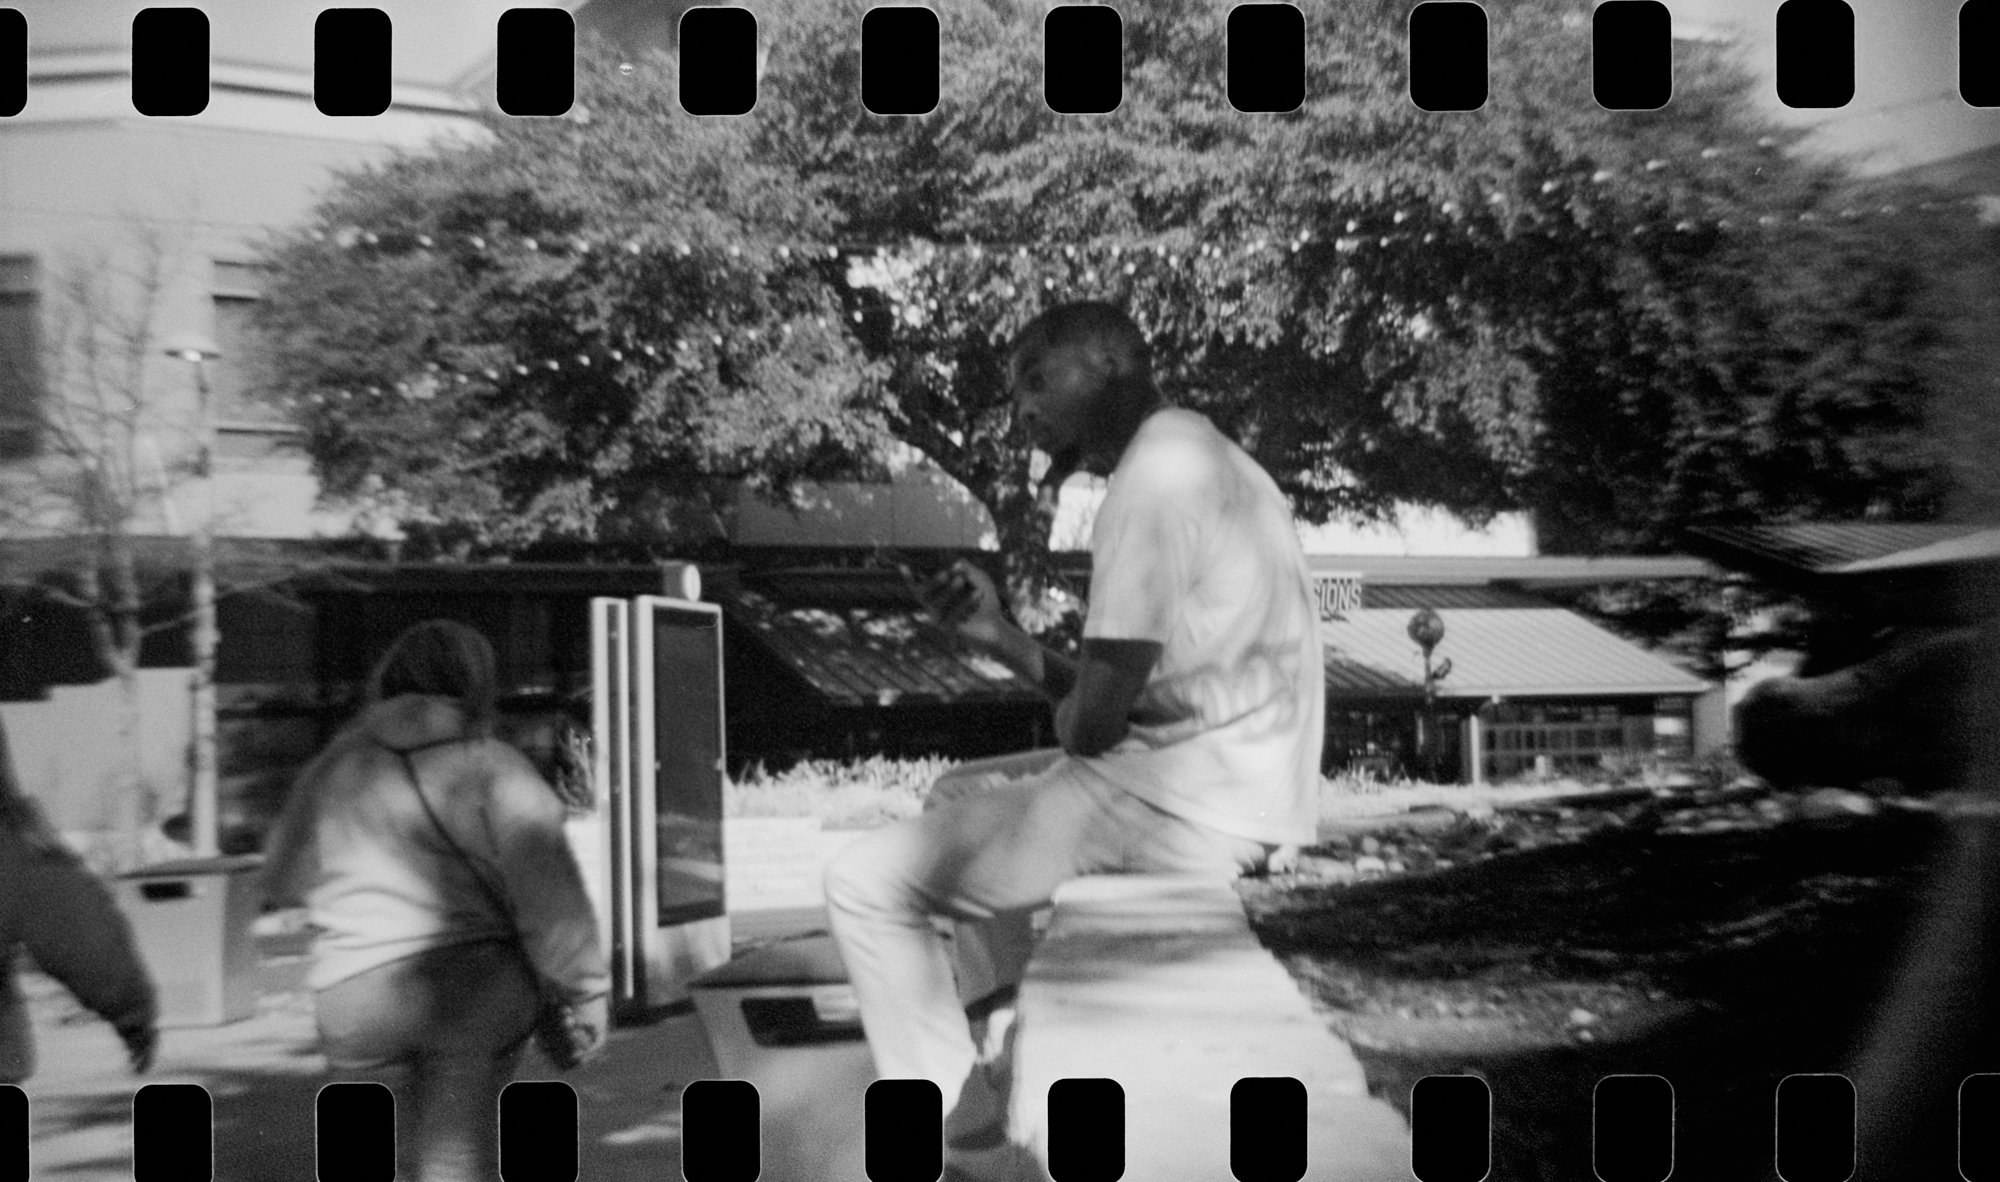
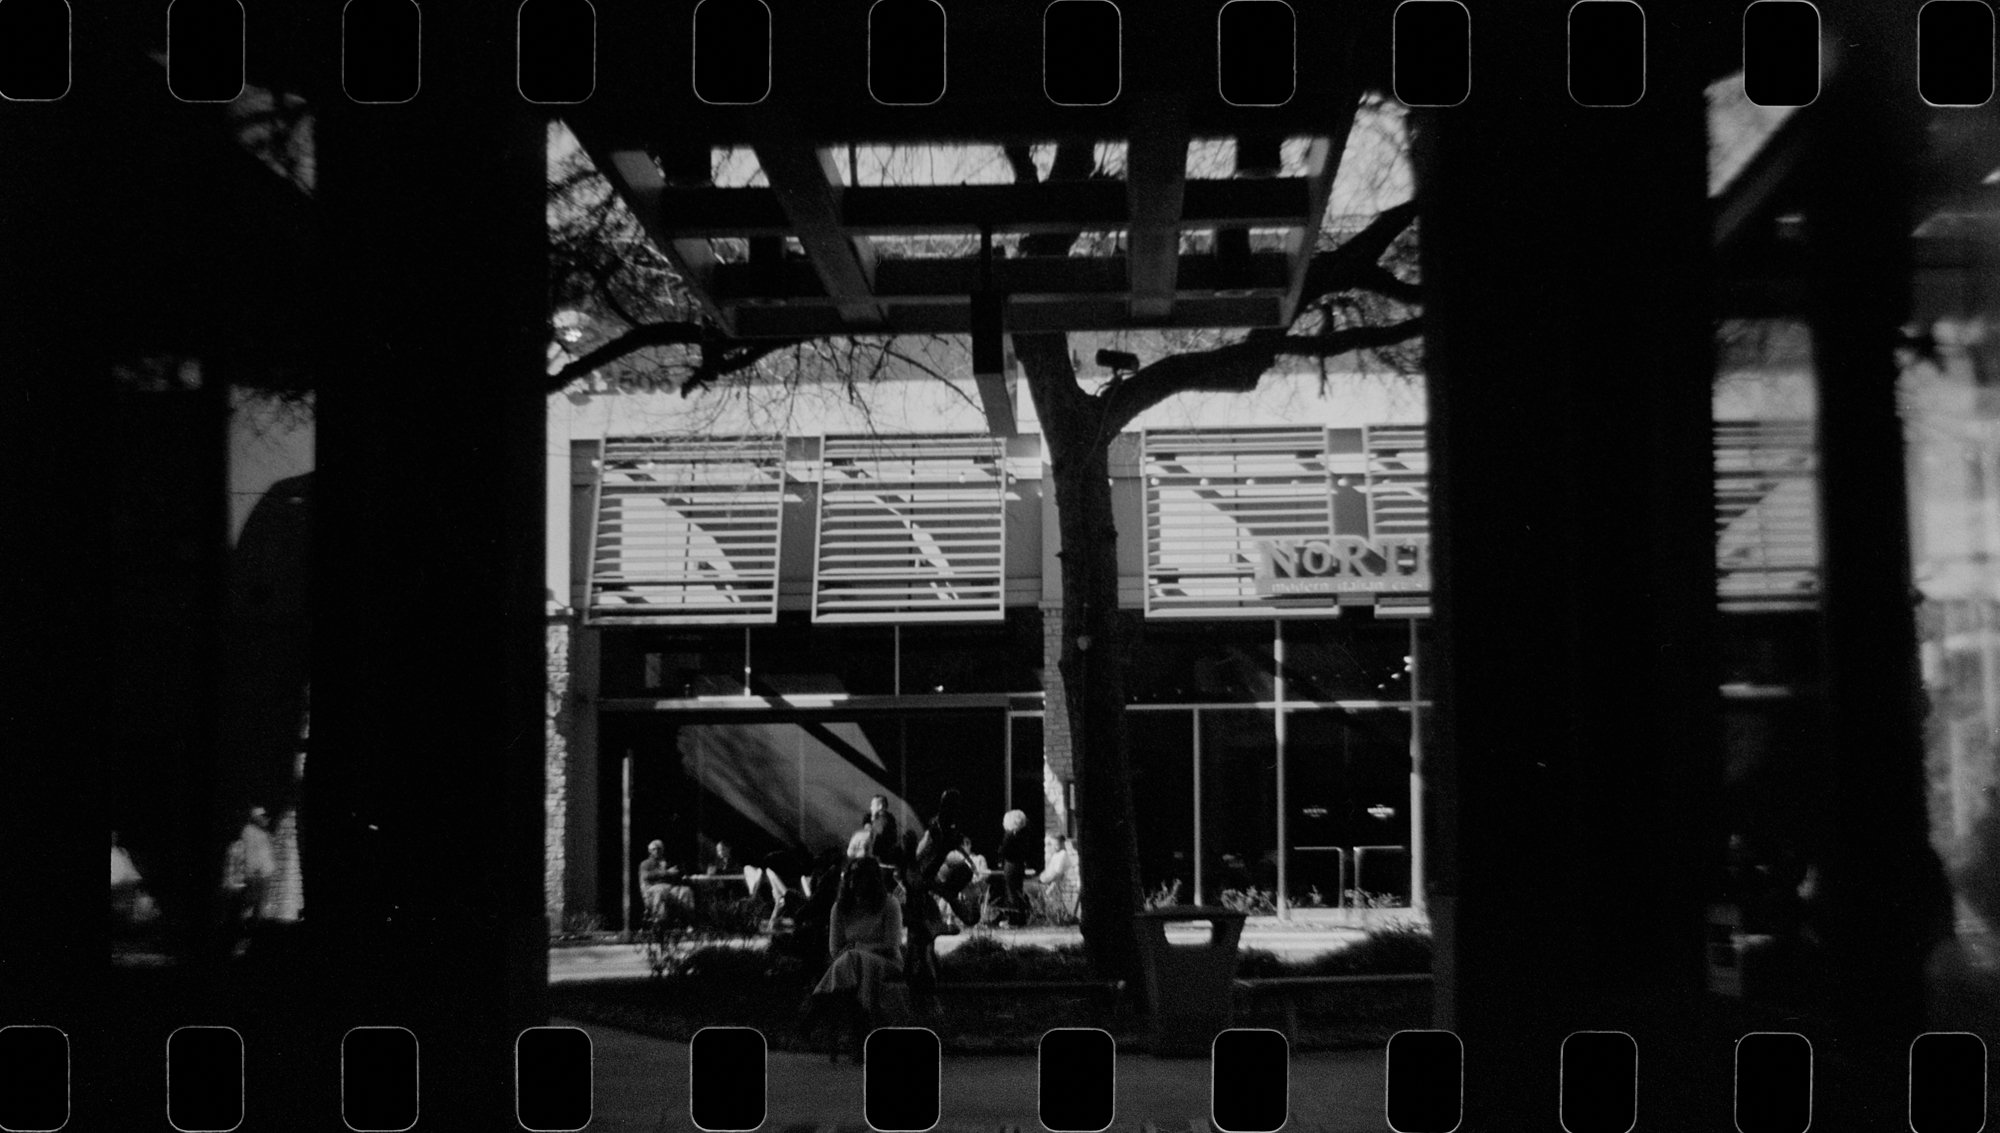
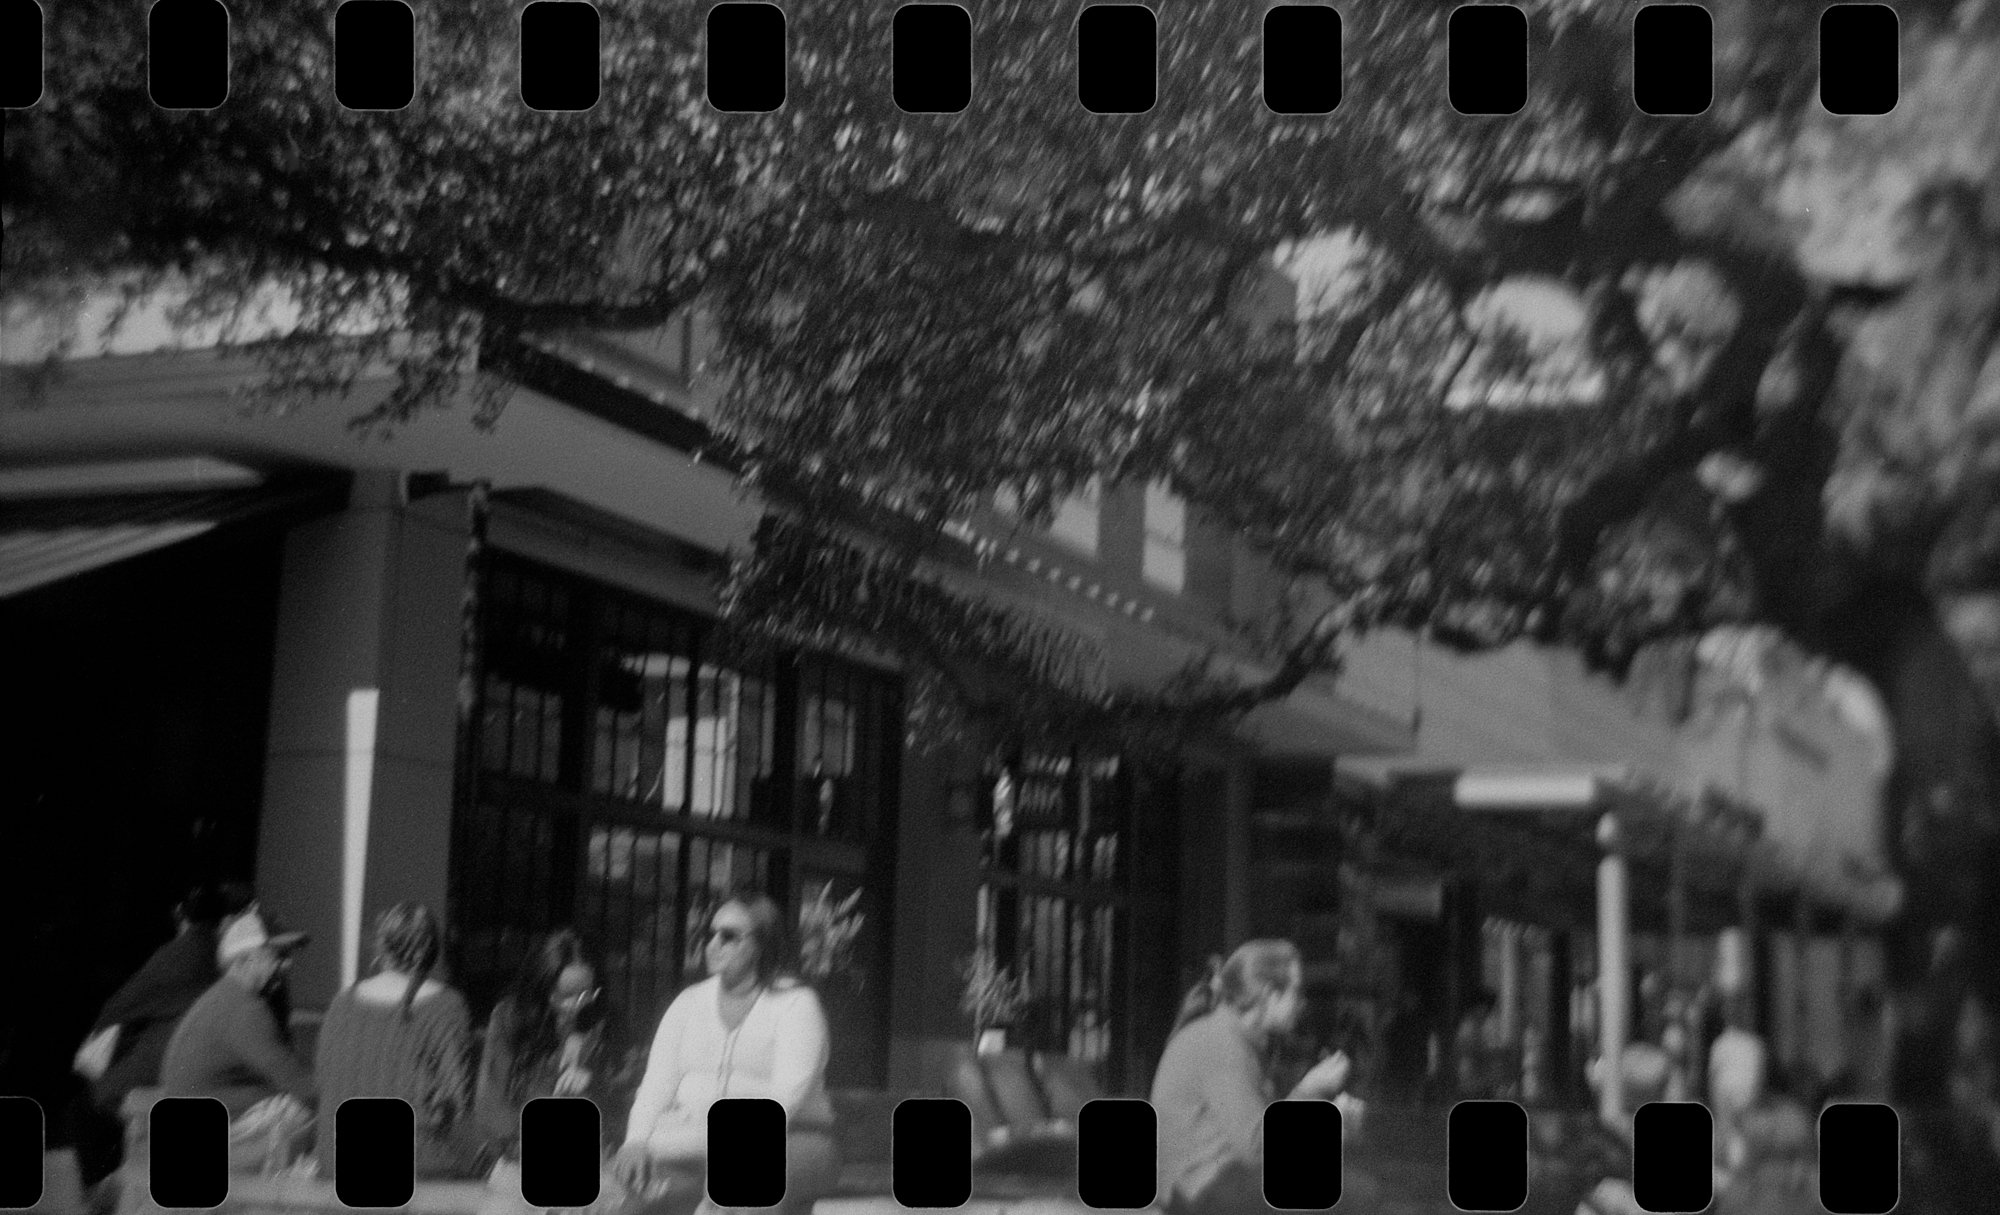
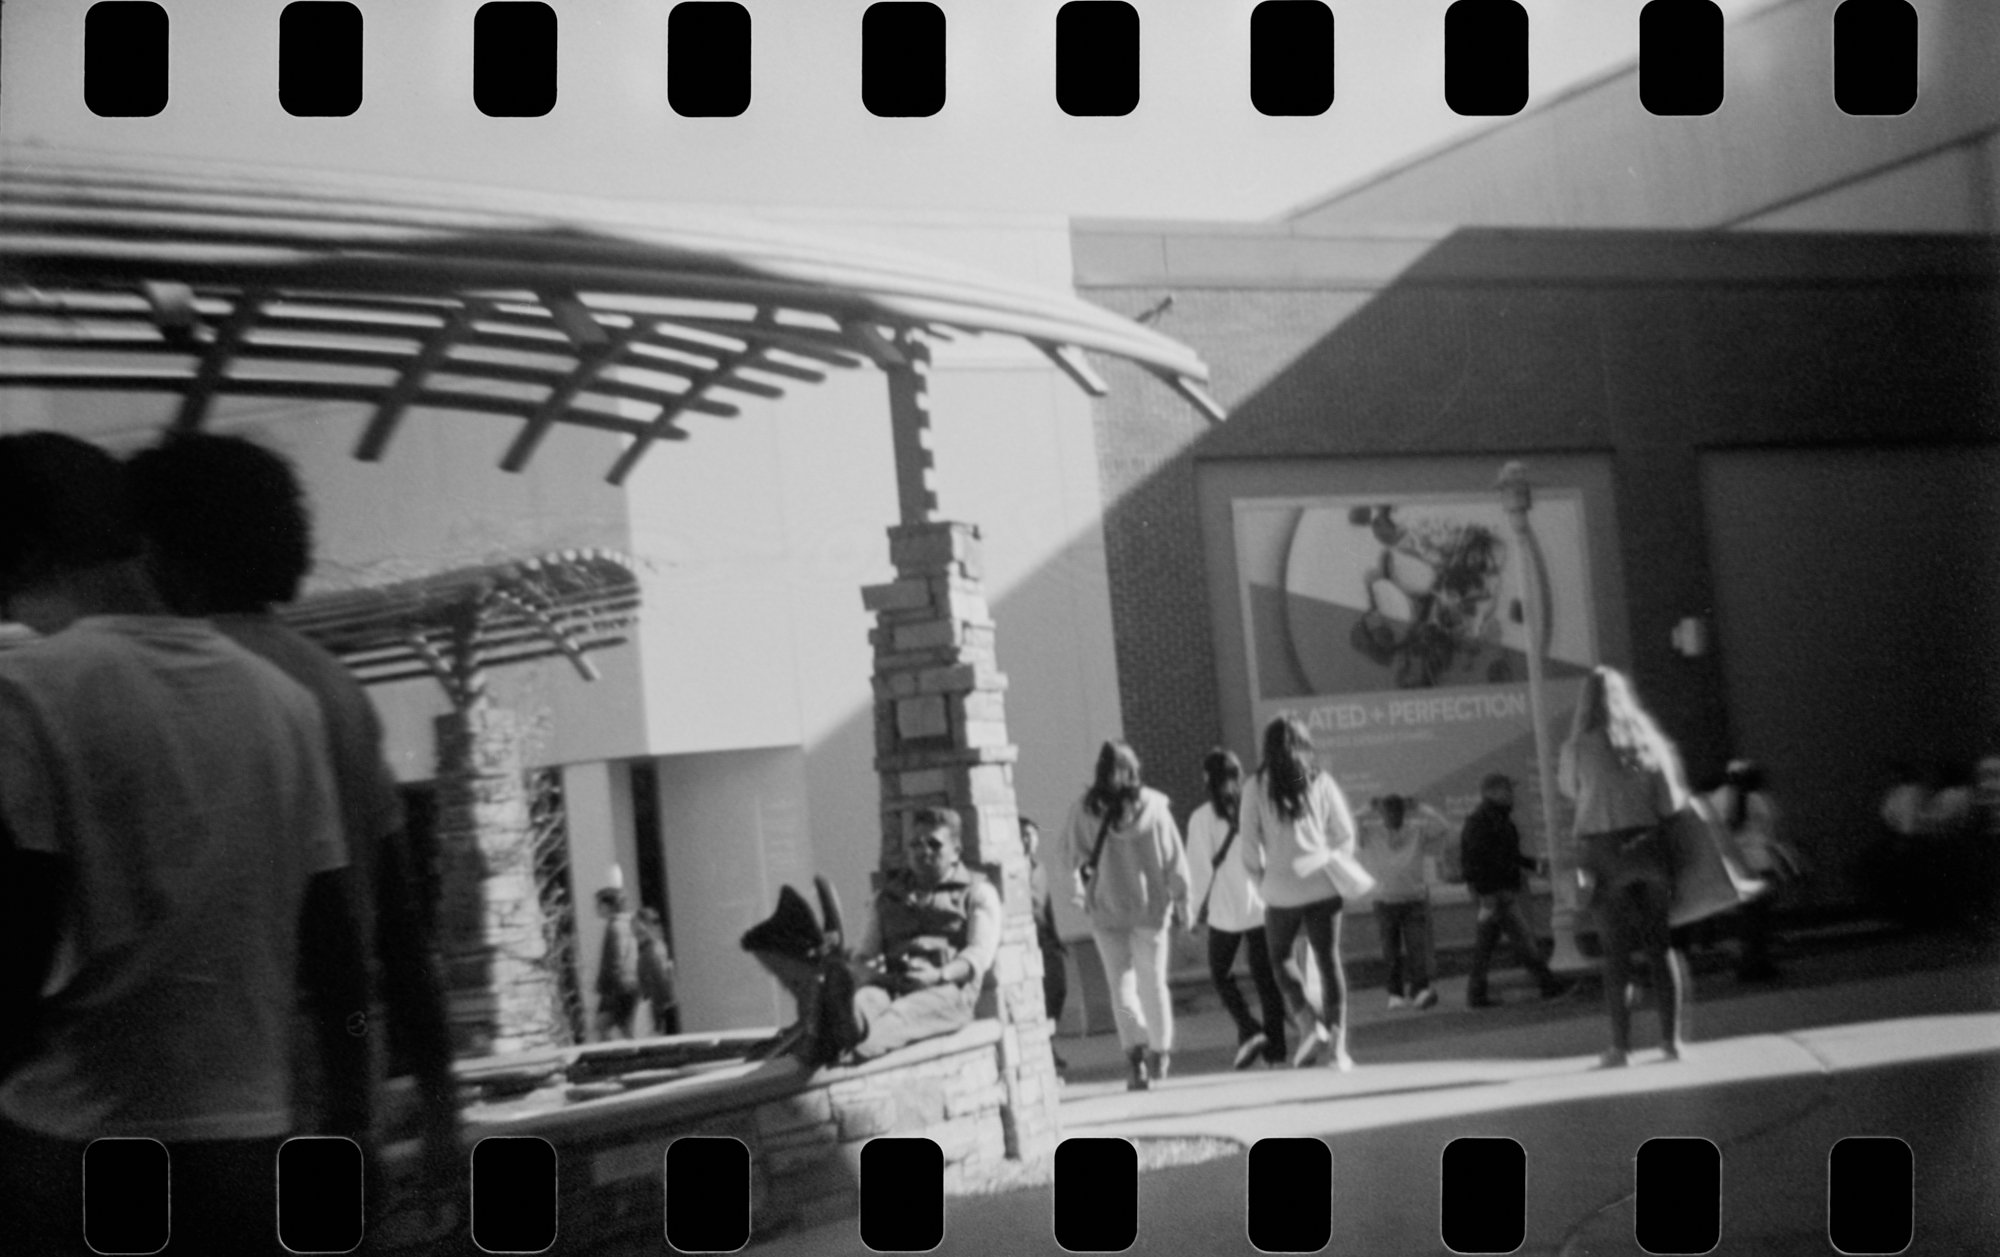
I took the loaded Diana with me the day I wandered around the Domain, in January. I was well aware that only the middle of the frame would actually hit film, so I kept that in mind when I was composing. Many of the shots were from the hip, and all of them were rough guesses.

What I did wrong was advance the film way too much in between each exposure. I decided to err on the side of extreme caution, and probably ended up wasting just as many frames as I made. Live and learn! I have another roll of that Kentmere, and I know how I will be using it one day in the not-so-distant future. I feel like I need to try one more time, and maybe even have some interesting overlaps instead of too few photos.
Another way I made things more difficult for myself: when the negatives were drying and I saw all the blank film between each exposure, I decided to just cut that away, leaving myself with little pieces that would of course be easy to put into an enlarger negative carrier but that were an absolute nightmare to scan. I ended up having to tape them in place on a medium format negative holder.

I did zero research into this technique, so I also didn’t realize how challenging it would be to scan the negatives, since the scanner registers the space inside the sprocket hole as the darkest spot in the image. I had to guess what the “black point” would be and manually set it for each frame. There might not be a way around this, but in the end it worked well enough.

Incidentally, digging around in my closet the other day I discovered something I had forgotten I own: a 35mm adapter kit for my Rolleiflex. My Dad gave me this when he gave me the Rollei, and it’s been stashed away for decades. GUESS what other sprocket hole adventure is in the near future!
Once again I find my Diana F redeemed. (A year ago, I was ready to either throw it out the window or sell it, I was so frustrated with the camera.) Once again, I find myself pleased with the results from a film stock for which I had low expectations. Once again, I find myself having a blast trying and learning new things! Thanks for reading, and if you try this, please let me know!
(PS If you don’t want to have to fool around taping things into place, it is possible to buy a kit that lets you properly adapt your Diana - and also your Holga - for 35mm film. In fact I also found in my closet the 35mm adapter kit for my Holga, and I’ll probably play with that one day before too long.)